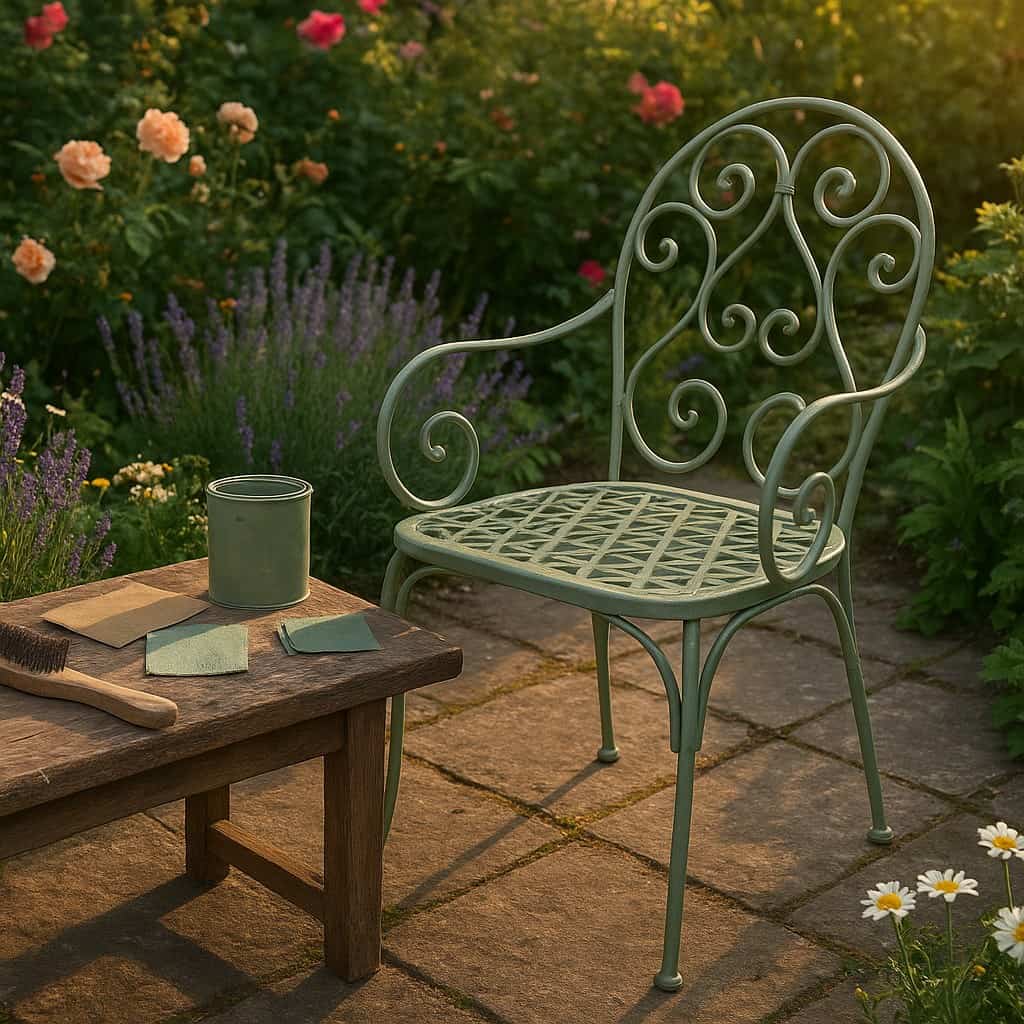
There’s something rather special about vintage metal garden furniture. Whether it’s a Victorian cast iron bench discovered at a car boot sale or a set of mid-century wrought iron chairs inherited from a grandparent, these pieces carry history in every curve and flourish. Yet decades of British weather can leave even the sturdiest metalwork looking tired, rusted, and unloved.
The good news? Restoring vintage metal garden furniture is not only achievable for the average DIY enthusiast, but it can also be a genuinely creative and rewarding project. According to a 2023 survey by the Horticultural Trades Association, the UK garden furniture market is worth over £1.4 billion annually, with a growing segment of consumers choosing restoration over replacement — driven by both sustainability concerns and a desire for unique, characterful pieces.
This guide explores creative, practical methods for bringing vintage metal garden furniture back to life, from tackling stubborn rust to experimenting with bold colour choices and decorative finishes.
Why Restore Rather Than Replace?
Before diving into the how, it’s worth considering the why. Vintage metal garden furniture was often built to a standard that modern mass-produced alternatives simply can’t match. Cast iron and wrought iron pieces from the Victorian and Edwardian eras, for example, were designed to last generations. Even mid-twentieth-century steel furniture tends to be heavier and more robust than much of what’s available on the high street today.
Beyond quality, there’s the environmental argument. The Environmental Protection Agency estimates that metal furniture accounts for a significant proportion of household bulky waste sent to landfill each year. Restoring an existing piece keeps it out of landfill, reduces demand for new manufacturing, and preserves a slice of design history. It’s a win on multiple fronts.
And then there’s the aesthetic appeal. A beautifully restored vintage bistro set or an ornate cast iron bench adds character to a garden in a way that flat-pack furniture rarely does.
Assessing the Condition of Your Furniture
Every restoration project should begin with a thorough assessment. Not all damage is equal, and understanding what you’re dealing with will determine which methods and materials you’ll need.
Surface Rust vs Structural Rust
Surface rust appears as orange-brown patches on the metal’s surface. It’s unsightly but generally straightforward to treat. Structural rust, on the other hand, has eaten into the metal itself, potentially weakening joints, legs, or decorative elements. If you can poke a screwdriver through a rusted area, the damage is structural and may require welding or professional repair before cosmetic restoration can begin.
Checking for Lead Paint
Furniture manufactured before the 1980s may have been painted with lead-based paint. If you suspect this is the case, use a lead testing kit (widely available from DIY shops) before sanding or stripping. If lead is present, take appropriate safety precautions, including wearing a properly rated respirator and working outdoors or in a well-ventilated space.
Identifying the Metal Type
Common metals found in vintage garden furniture include:
- Cast iron — heavy, often ornate, prone to rust but extremely durable
- Wrought iron — slightly lighter than cast iron, with a fibrous texture, often hand-forged
- Steel — common in mid-century pieces, lighter and sometimes tubular in construction
- Aluminium — lightweight, doesn’t rust but can oxidise and develop a dull, chalky surface
Knowing your metal type matters because different metals respond differently to cleaning agents, rust removers, and paints.
Essential Tools and Materials
Before starting, gather the following:
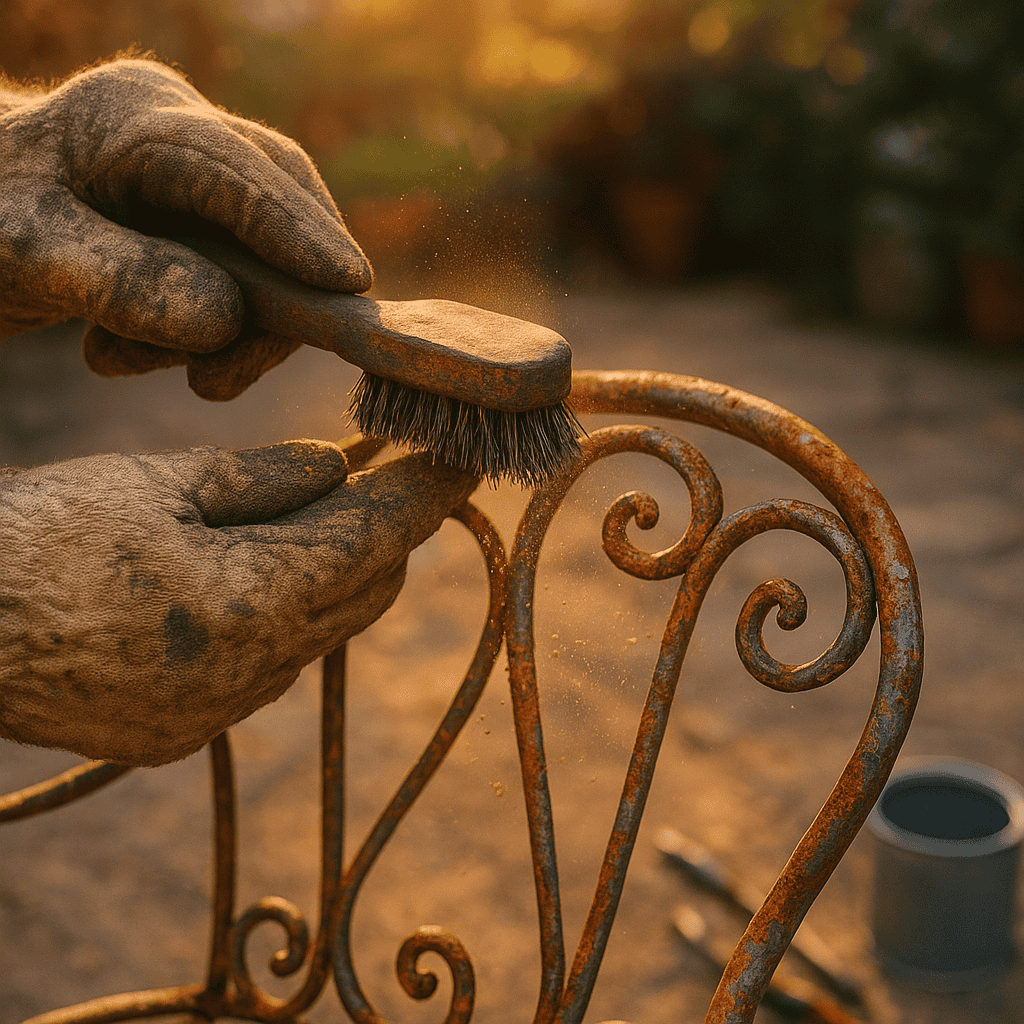
- Wire brushes (both hand-held and drill-attached)
- Sandpaper in various grits (80, 120, and 240 are a good starting range)
- Chemical rust remover or converter
- White vinegar and baking soda (for natural rust removal)
- Metal primer (rust-inhibiting)
- Exterior-grade metal paint
- Drop cloths or dust sheets
- Safety equipment: gloves, safety glasses, and a dust mask or respirator
- Clean rags and buckets
- Steel wool (fine grade)
Creative Method 1: The Classic Strip, Treat, and Repaint
This is the most traditional approach, but there’s plenty of room for creativity within it — particularly when it comes to colour and finish.
Step 1: Clean Thoroughly
Start by washing the furniture with warm, soapy water to remove dirt, cobwebs, and loose debris. A stiff brush works well for getting into crevices and decorative details. Rinse and allow to dry completely — this is crucial, as trapped moisture will undermine any subsequent treatment.
Step 2: Remove Rust and Old Paint
For light rust, a wire brush or medium-grit sandpaper may be sufficient. For heavier rust, consider these options:
- Wire brush attachment on a drill — significantly speeds up the process on flat surfaces
- Chemical rust remover — products containing phosphoric acid dissolve rust effectively; apply, leave for the recommended time, then scrub and rinse
- White vinegar soak — for smaller removable parts, submerging in white vinegar for 12–24 hours can loosen rust remarkably well; follow up with a scrub and a baking soda rinse to neutralise the acid
- Electrolysis — a more advanced technique beloved by restoration enthusiasts, involving a water bath, washing soda, and a battery charger; highly effective for intricate cast iron pieces
Step 3: Apply Rust Converter (If Needed)
For areas where rust has pitted the metal and complete removal isn’t practical, a rust converter is invaluable. These products chemically transform remaining rust into a stable, paintable surface. They’re particularly useful for ornate pieces where wire brushes can’t reach every nook.
Step 4: Prime and Paint
Apply a rust-inhibiting metal primer — this is non-negotiable for outdoor furniture. Once the primer is dry, apply at least two coats of exterior-grade metal paint. This is where creativity comes in. Rather than defaulting to black or dark green, consider:
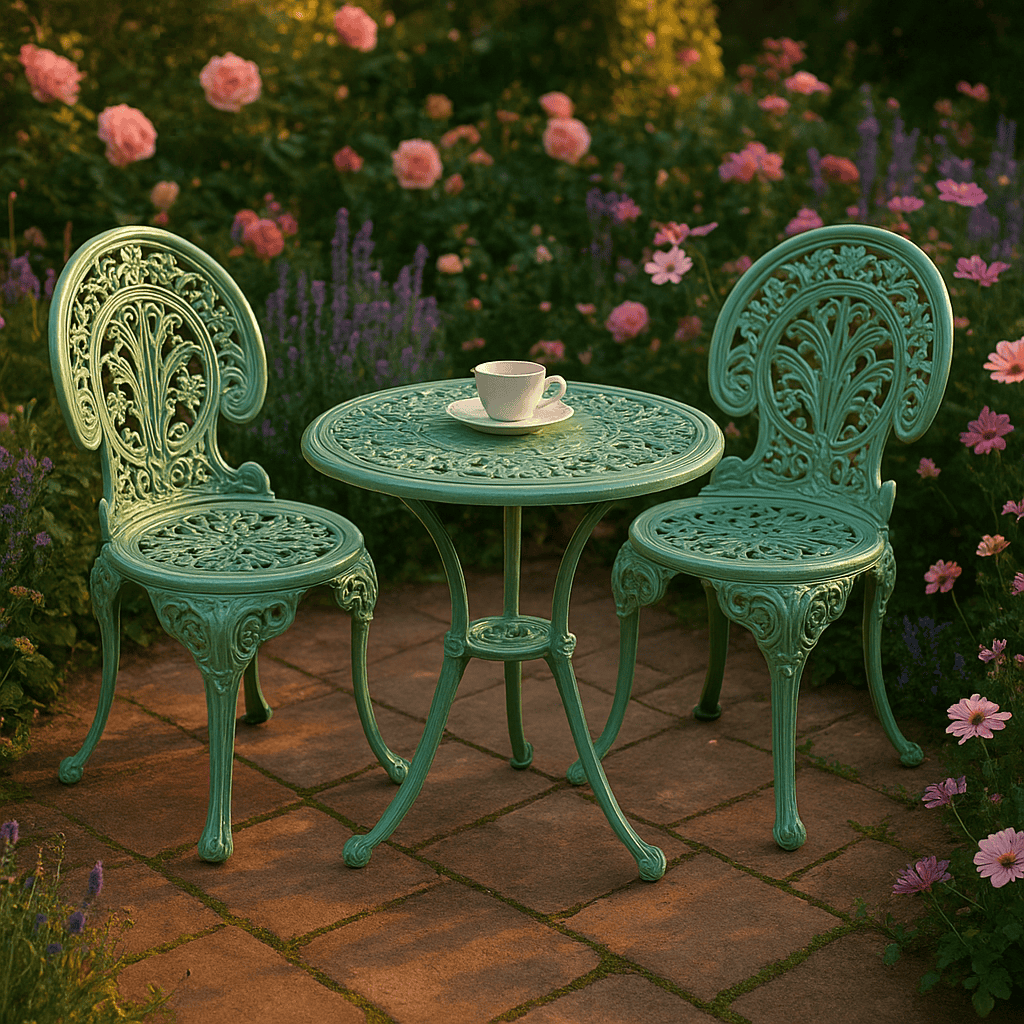
- Bold heritage colours — deep teal, mustard yellow, or terracotta can make a stunning statement
- Two-tone finishes — paint the frame one colour and decorative details in a contrasting shade
- Metallic finishes — copper, bronze, or gold spray paints can highlight ornamental elements beautifully
Creative Method 2: Embracing the Patina
Not every piece needs to look brand new. The “shabby chic” and industrial design movements have made weathered, patinated finishes genuinely fashionable. If your furniture has an attractive aged quality, you might choose to stabilise rather than eliminate it.
To do this, remove loose rust and flaking paint with a wire brush, then clean the surface thoroughly. Rather than priming and painting, apply a clear lacquer or penetrating oil (such as boiled linseed oil) to seal the surface and prevent further deterioration. The result is a piece that retains its aged character while being protected from the elements.
This approach works particularly well for wrought iron pieces with interesting textures and for gardens with a cottage, rustic, or industrial aesthetic.
Creative Method 3: Decoupage and Decorative Finishes
For those who want something truly unique, decorative techniques can transform restored metal furniture into functional art.
Stencilling
After applying a base coat of paint, use stencils to add patterns — botanical motifs, geometric designs, or even lettering. Use a contrasting colour and a stencil brush or sponge for crisp results. Seal with a clear exterior varnish for durability.
Distressed Finishes
Apply a base colour, then a top coat in a contrasting shade. Once dry, lightly sand edges and raised details to allow the base colour to show through. This creates a deliberately aged, layered look that suits vintage pieces beautifully.
Gilding and Metallic Accents
Gold or silver leaf applied to decorative elements — finials, scrollwork, or floral motifs — adds a touch of glamour. Use specialist gilding adhesive and seal with a clear coat. Even small accents can elevate a piece dramatically.
Creative Method 4: Replacing and Upcycling Components
Sometimes restoration involves more than just the metal frame. Many vintage garden chairs and benches originally had wooden slats, fabric seats, or decorative tiles that have deteriorated beyond saving.
Wooden Slats
Replacing rotten wooden slats is one of the most impactful restoration steps. Hardwoods like teak, iroko, or oak offer the best longevity outdoors. Cut to size, sand smooth, and finish with an exterior wood oil or stain. The contrast between freshly restored metal and warm timber is genuinely striking.
Mosaic Tops
For metal-framed tables with missing or damaged tops, consider creating a mosaic using broken tiles, coloured glass, or even old crockery. Set the pieces in exterior-grade adhesive on a marine plywood base, grout, and seal. This is a wonderfully creative way to produce a one-of-a-kind piece.
Woven Seats
Metal chair frames with missing seats can be fitted with woven seats using outdoor-rated rope, paracord, or synthetic rattan. This technique adds comfort and a contemporary twist to vintage frames.
How Do You Protect Restored Metal Furniture from Future Rust?
This is one of the most commonly asked questions, and rightly so — there’s little point investing hours in restoration only to see rust return within a season.
- Apply a protective topcoat — a clear exterior lacquer over paint adds an extra layer of defence
- Use furniture covers — breathable, waterproof covers during autumn and winter significantly extend the life of your restoration
- Store indoors if possible — a shed or garage during the wettest months is ideal
- Touch up chips promptly — even small paint chips can allow moisture to reach the metal; keep a small pot of matching paint for quick repairs
- Apply wax — a coat of carnauba wax over painted surfaces adds water repellency and a subtle sheen
Can You Restore Metal Garden Furniture Without Sanding?
Yes, to a degree. Chemical paint strippers can remove old paint without sanding, and rust converters can treat corrosion without abrasive removal. However, some level of surface preparation — even if it’s just a thorough clean and a light scuff with fine steel wool — will always improve adhesion and the final finish. Sanding doesn’t have to mean hours of elbow grease; a detail sander or wire brush attachment on a drill can make the job far less laborious.
What Paint Is Best for Metal Garden Furniture?
Look for paints specifically formulated for exterior metal use. Direct-to-metal paints (which combine primer and topcoat in one) have improved significantly in recent years and can save considerable time. Hammered-finish paints are excellent for disguising minor surface imperfections, while smooth gloss finishes offer a more polished look. Spray paints designed for metal provide an even finish on intricate pieces where brush marks would be more visible.
Whichever paint you choose, ensure it’s rated for outdoor use and offers UV resistance and rust protection.
A Rewarding Project Worth the Effort
Restoring vintage metal garden furniture is one of those rare projects that combines practicality, creativity, and sustainability in equal measure. Whether you opt for a faithful restoration in a traditional colour, a bold contemporary makeover, or a decorative finish that turns a simple bench into a garden focal point, the process is deeply satisfying.
The key takeaways are straightforward: assess the condition carefully, invest time in proper preparation, choose quality materials suited to exterior use, and don’t be afraid to experiment with colour and decorative techniques. A piece of furniture that might have been destined for the scrap heap can, with a bit of effort and imagination, become the most admired feature of your garden — and one that will serve you well for many years to come.




Leave a Reply